Limitations of Liquid Screed
Liquid screed, while advantageous for its quick installation and smooth finish, does come with certain limitations. It is generally less strong than traditional concrete, which may impact its suitability for specific heavy-duty applications. Its flexibility can lead to cracking problems if not properly managed. Additionally, liquid screed is not ideal for areas with extreme fluctuations in temperature, as this can further compromise its integrity over time.
Onsite mixed screed requires precise mixing and application to achieve optimal strength. If the onsite conditions are not ideal, problems such as segregation or inconsistent curing may occur. These issues can diminish the potential structural benefits that liquid screed can offer. Consideration of the intended use and environmental factors is essential before opting for liquid screed over concrete, especially for high-load scenarios.
Considerations Before Use
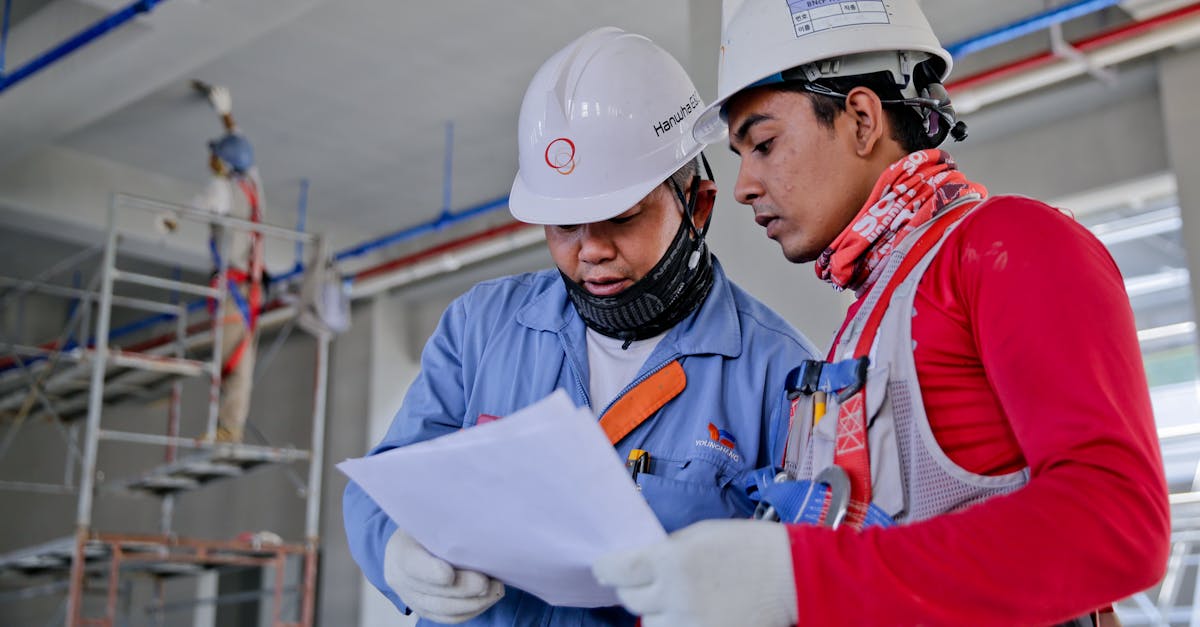
When considering the use of liquid screed, it is essential to evaluate the specific requirements of your project. Liquid screed offers distinct advantages, such as faster installation and smooth finishes. However, it may not be suitable for all types of flooring and environments. Factors like the substrate condition, existing moisture levels, and potential foot traffic must be taken into account. Understanding these elements will help ensure that liquid screed performs optimally and meets the necessary standards.
Another important aspect is the choice between factory-mixed and onsite mixed screed. Onsite mixed screed allows for customization and adjustments based on the immediate conditions and requirements of the job. It can lead to better adhesion and performance in some scenarios. However, it also requires skilled labor to mix and apply it correctly. Weighing the pros and cons of each option will aid in making an informed decision that aligns with the goals of your project.
Installation Process of Liquid Screed
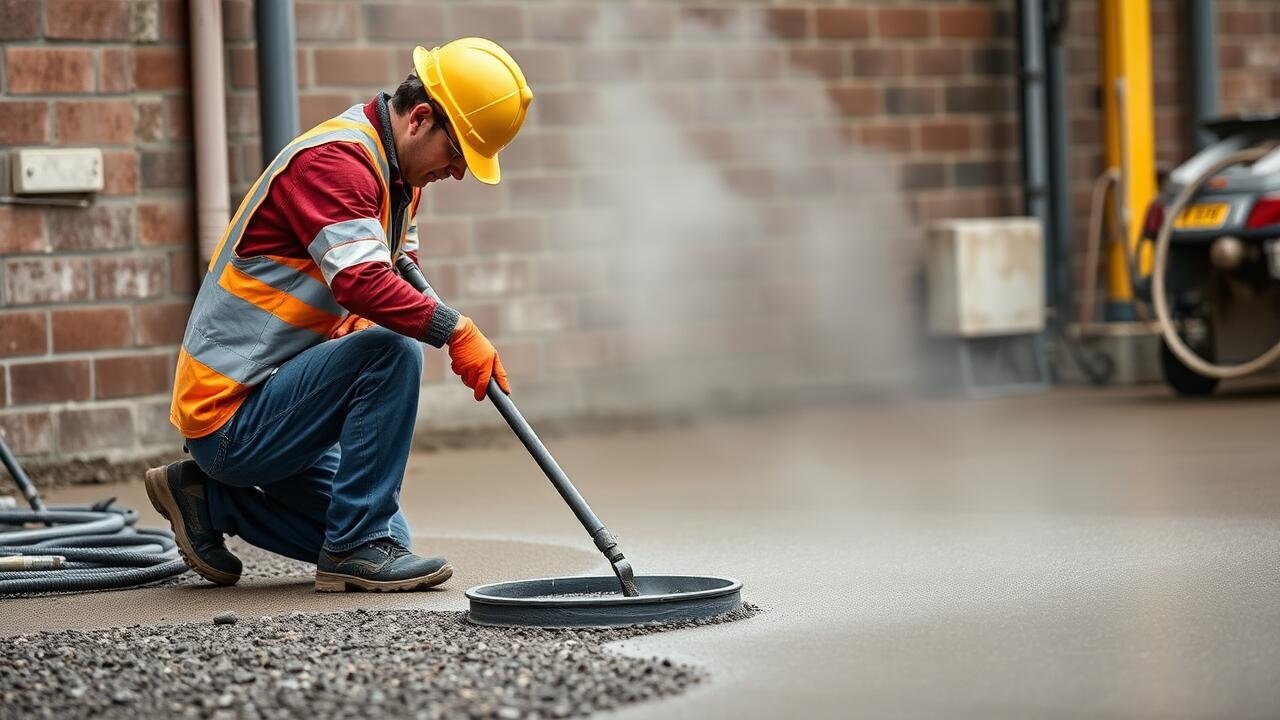
The installation process of liquid screed typically begins with proper surface preparation. This involves ensuring that the subfloor is clean and free of debris. Any imperfections or damage should be addressed before proceeding. Assessing the moisture levels is critical, as excess moisture can compromise the bond and quality of the screed. Once the subfloor is ready, the next step is to define the boundaries of the area to be covered. Utilizing materials like edge strips can help prevent the screed from bonding to walls and other vertical surfaces.
Onsite mixed screed offers flexibility in terms of composition, allowing it to be tailored to specific requirements. To install, the screed is mixed on location, ensuring optimal consistency. It is then poured swiftly to maintain fluidity. Using a leveling tool can help in achieving a smooth and even surface. After pouring, the screed should be spread and leveled, followed by surface finishing techniques to ensure proper texture. This process requires careful attention to detail to avoid any potential issues with strength or durability in the final product.
Step-by-Step Guide
The installation of liquid screed can be straightforward if the steps are followed carefully. Ensure the area is prepared by cleaning and leveling the subfloor. Use insulation boards to prevent heat loss and create a thermal barrier. If using an onsite mixed screed, make sure that the mixing equipment is set up properly to achieve a consistent blend. Check the leveling and any slope requirements before proceeding.
Once the preparation is complete, pour the liquid screed onto the floor. Use a screed rail or guidance system to keep the level consistent across the surface. After pouring, work the screed with a trowel or float to ensure an even finish. Leave the screed to settle and retain its shape. Monitor the curing process closely to achieve optimal strength and performance, especially if variable conditions may affect drying time.
Curing Time Comparison
Curing time plays a significant role in determining the overall strength of liquid screed and its effectiveness compared to traditional concrete. Liquid screed typically has a quicker drying time, enabling it to be walked on within 24 to 48 hours after installation. This rapid curing allows for faster project completion and less downtime, particularly beneficial in construction settings. However, it is crucial to follow proper curing procedures to ensure that the screed achieves its optimal strength and durability.
Onsite mixed screed can present additional considerations when evaluating curing time. When mixed at the site, the water-to-cement ratio can vary, which may affect the final strength of the screed. A lower water content can hasten the curing process, yet it may also compromise workability. Therefore, ensuring the right proportions during mixing becomes vital for achieving desired performance, regardless of the curing time. Proper attention to these details can help prevent issues that arise from insufficient curing or poor onsite mixing practices.
How It Affects Strength
Liquid screed is often praised for its quick installation and level finish, but its strength can vary depending on multiple factors. Onsite mixed screed retains the ability to provide an even surface while allowing for adjustments specific to a project’s needs. This flexibility can lead to a positive impact on the overall strength of the floor if the right mix ratios and curing practices are employed.
Strength also hinges on the correct thickness of the screed layer. Thinner applications may sacrifice some robustness compared to traditional concrete. Additionally, the incorporation of fibers and additives in onsite mixed screed can enhance durability and reduce cracking, creating a more resilient surface that can stand up to varying loads over time.
FAQS
What is liquid screed?
Liquid screed is a type of flooring material made from a mixture of cement, sand, and water. It is designed to be poured onto a surface to create a smooth, level floor.
How does the strength of liquid screed compare to concrete?
While liquid screed can achieve significant strength, it generally does not reach the same compressive strength levels as traditional concrete. However, it is suitable for many flooring applications depending on the specific requirements.
What are the limitations of using liquid screed?
Limitations of liquid screed include its susceptibility to damage from heavy loads, potential cracking if not installed properly, and a longer curing time compared to traditional concrete installations.
How long does it take for liquid screed to cure?
The curing time for liquid screed is generally longer than that of concrete, often requiring up to 28 days for full strength to be achieved, depending on environmental conditions and the specific formulation used.
Can liquid screed be used in outdoor applications?
Liquid screed is primarily designed for indoor use. While some formulations may be suitable for outdoor applications, it is essential to consult with a professional to ensure it meets the necessary durability and weather resistance requirements.