Installation Process of Ready Mixed Screed
The installation process of ready mixed screed involves several essential steps. First, proper site preparation is crucial. This includes ensuring the subfloor is clean, dry, and free of debris. It’s also important to check that any necessary insulation or heating systems are properly installed. Once the substrate is ready, the ready mixed screed is delivered to the site in a truck equipped with a mixing drum. This allows for consistent quality and avoids the potential pitfalls of onsite mixed screed.
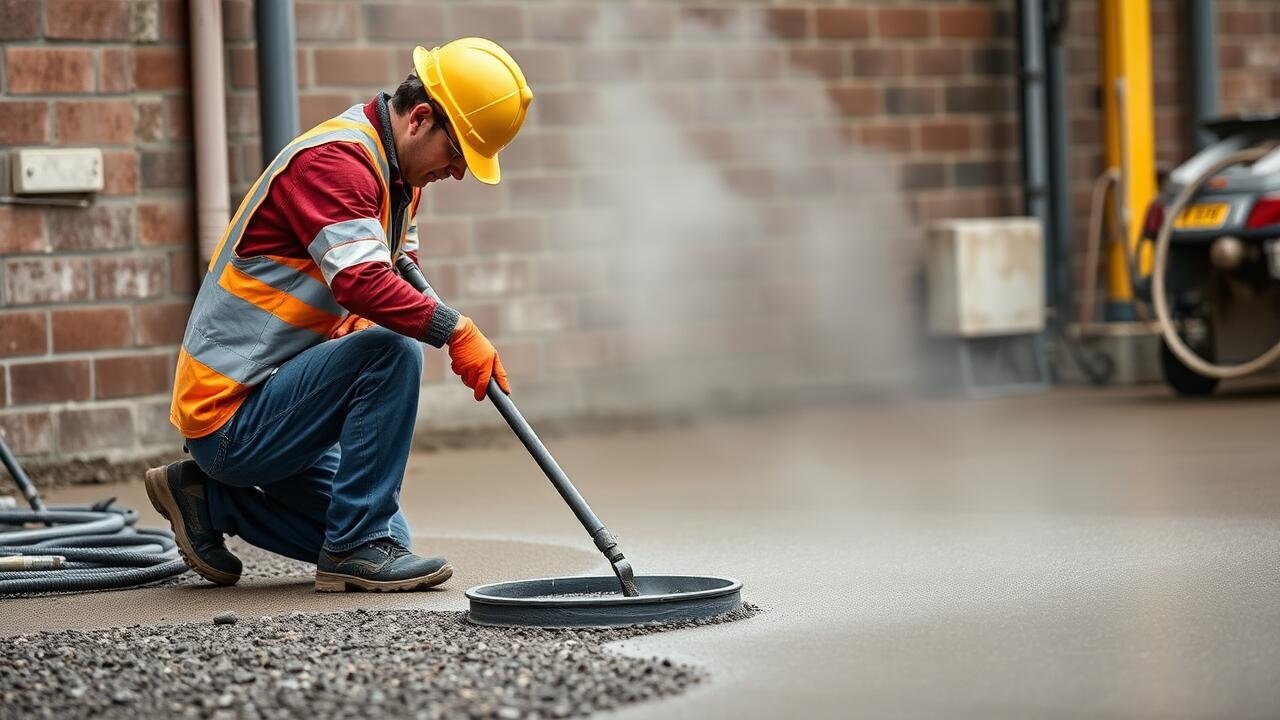
After the screed is delivered, it is poured onto the prepared surface using a screed pump or by hand. It is spread evenly using a long straightedge to achieve the desired thickness. Next, the screed is leveled and smoothed to eliminate any imperfections. This process is followed by carefully edging the corners and ensuring the material is adequately compacted. Proper installation is key to achieving a durable and even finish, making attention to detail during this phase important.
Step-by-Step Guide
The first step in the installation of ready mixed screed involves preparing the surface where the screed will be applied. Ensure that the substrate is clean, free from debris, and adequately primed. Any uneven areas should be leveled to create a smooth base for the screed. Once the surface is prepared, measure the area to determine the required volume of screed needed. It’s essential to order enough material, especially if you plan to use onsite mixed screed, as it enables you to customize the mix based on specific project needs.
After confirming the quantities, begin mixing the screed according to the manufacturer’s instructions. If using onsite mixed screed, ensure that the machinery for mixing is clean and functioning efficiently. The screed should be poured evenly across the surface. Use a straightedge or level to spread the screed consistently, maintaining the desired thickness. Work in a systematic manner, dividing the area into sections if necessary. Once the screed is in place, achieve the desired finish with a trowel, and allow it to settle before proceeding to the curing phase.
Curing and Drying Times
Curing and drying times for ready mixed screed can vary significantly based on several factors, including thickness, ambient temperature, and humidity levels. Typically, the surface begins to set within a few hours after pouring, but full curing may take several days to weeks. This is essential to achieve optimal strength and durability. If conditions are not ideal, such as high humidity or cold temperatures, these times can extend, particularly when compared to onsite mixed screed, which may have different drying characteristics.
To ensure the longevity and performance of your ready mixed screed, it’s crucial to monitor the drying process closely. Applying moisture-retaining covers or curing compounds can help slow down evaporation. Avoid heavy foot traffic and placing furniture on the screed until it has cured adequately. Keeping the environment consistent will also aid in achieving an even finish, highlighting the importance of proper curing times in preserving the integrity of the screed.
What to Expect After Installation
After the installation of ready mixed screed, you can expect a smooth and even surface that is ready for further treatments or flooring options. Typically, the screed will continue to settle during the initial curing phase, which means that some minor adjustments or leveling might occur as it dries. The finish should be free from cracks or imperfections, ensuring a solid base for subsequent flooring materials.
Onsite mixed screed offers additional benefits, particularly in terms of customization according to specific project requirements. Its composition allows for tailored properties, such as increased compressive strength or enhanced moisture resistance, depending on the area of installation. Overall, regular monitoring of the surface as it cures will help you identify any issues early on, ensuring a reliable foundation for your next steps.
Maintenance Tips for Ready Mixed Screed
To maintain your ready mixed screed, regular cleaning is essential. Dust, dirt, and debris can cause scratches and damage over time. Use a broom or vacuum to remove loose particles, followed by damp mopping with a mild detergent. Avoid harsh chemicals that could deteriorate the surface. Maintaining the appearance not only keeps your space looking good but also protects the screed from wear.
Onsite mixed screed requires specific care to help it retain its durability and strength. Ensure that heavy furniture or equipment is placed carefully to prevent indentations. If you notice any cracks or chips, address repairs promptly to prevent further damage. Regular inspections will help catch any issues early on, allowing you to take necessary action to preserve your screed’s integrity over time.
Keeping Your Screed in Good Condition
To maintain your ready mixed screed, regular cleaning and minor repairs are essential. Sweep the surface to remove dirt and debris. Spills should be cleaned up promptly to avoid stains and potential damage. Inspect the screed periodically for any cracks or signs of wear. Addressing minor issues early can prevent more extensive repairs down the line.
Onsite mixed screed may require similar attention. Ensure that the surface remains level and free from heavy object impacts. If you notice any uneven wear, consider applying a sealant designed for screed surfaces. This not only enhances durability but also offers protection against moisture and staining. By following these steps, you can prolong the life of your screed and maintain its aesthetic appeal.
FAQS
What is ready mixed screed?
Ready mixed screed is a pre-mixed, self-leveling compound made of sand, cement, and water, designed for easy application as a flooring base before laying final floor finishes.
Can I purchase ready mixed screed?
Yes, ready mixed screed is available for purchase from various suppliers, including home improvement stores and specialized flooring companies.
How is ready mixed screed installed?
Ready mixed screed is typically installed by pouring the mixture onto the prepared subfloor and spreading it evenly using a screeding tool, followed by leveling it to achieve a smooth surface.
What are the curing and drying times for ready mixed screed?
Curing times can vary, but generally, ready mixed screed takes about 24 to 48 hours to set sufficiently for foot traffic, with full drying potentially taking up to several weeks, depending on environmental conditions.
How can I maintain my ready mixed screed?
To maintain ready mixed screed, keep it clean by sweeping and mopping regularly, avoid using harsh chemicals, and promptly address any cracks or damage to extend its lifespan.